
In light of the holiday season here is what Ive been up to:


wrapping and....


pictures and...

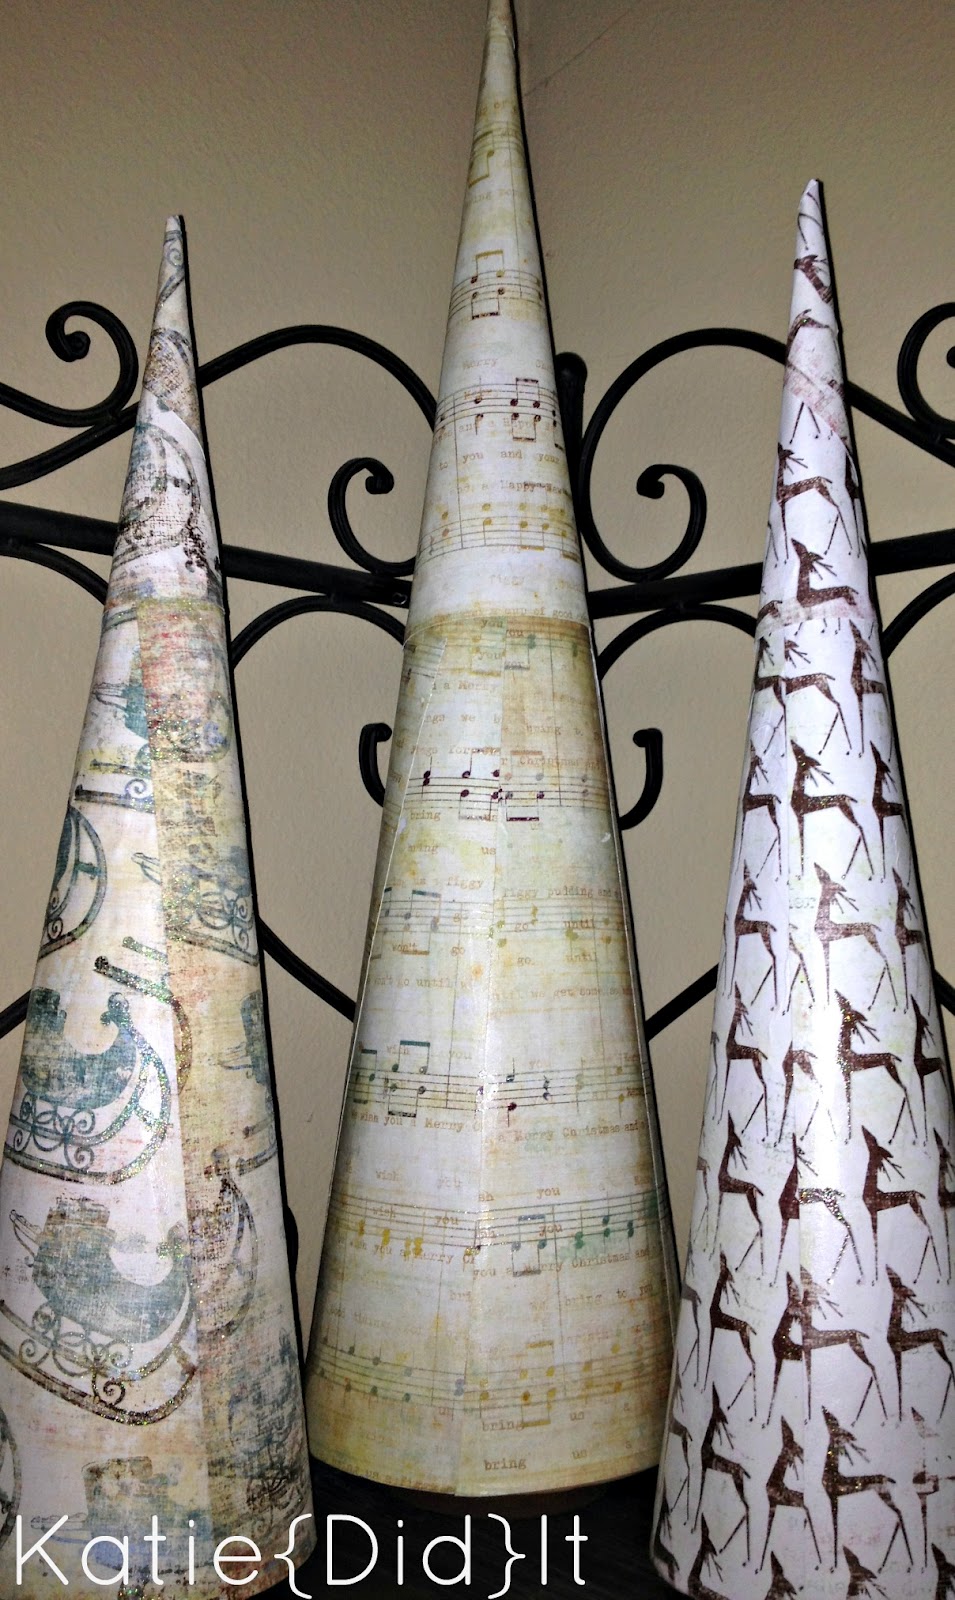
and crafts!!
Ok, so I made the trees last year. But still. I love them!
Of course one of my favorite things to do is wrap presents for Christmas. Im just getting to the point that I can be creative with ribbon since I have recently learned different techniques on how to tie them. And also because I use wire ribbon. Which is, in short, amazing. I can make it do whatever I want!
The paper mache trees are a little more difficult but definitely doable and easy once you get the hang of it.
Here is the tutorial for them:
Materials:
Five paper mache trees from Hobby Lobby. Three large and two small.
Craft or scrap book paper
Mod Podge
Brown bells
Brown wire ribbon
craft paint in burgundy
craft paint in brown
hot glue gun and glue sticks
Foam brushes
For the painted trees, I first painted the tree holding it by the base, and let it dry. I then painted the base the same color and let it dry. Add as many coats as you want to get the desired color. While the tree is drying, thread the brown ribbon through the bells, and plug in your hot glue gun. You can use as many or as few bells as you want. Once the trees are dry, take one end of the ribbon threaded with bells, and glue it to the top of the tree. From there, wrap the ribbon around the tree, putting dots of hot glue where you want the bells on the tree. Voila!
For the scrap book paper trees:
Put some mod podge/decoupage glue on a paper plate. Cut your paper into strips. Using your foam brush, generously apply mod podge to part of the tree. Then on the back of your paper, apply a coat of mod podge. Apply the strip of paper to the mod podge area on the tree. Smooth out with your fingers. Repeat until the entire tree is covered with paper. For the top part, I cut a square piece of paper, and rolled it around the tip until it formed a point. Apply another coat of mod podge over the entire papered tree to seal. You can use matte or glossy mod podge. The paper will be soggy and can still be moved around on the tree, but once its dry it will harden. Once the tree was dry, I painted the base brown. You can paint the base whatever color you want to match your paper. Done! Now you've got cute trees as a center piece on your table, or just decoration around your house.
YAY!
If you try this, send me pics on my email or here so I can see them!
I have lots of projects and recipes to catch up on, so I will be posting lots to get up to speed. See y'all around!
Pin It
No comments:
Post a Comment